#1 MAKE A PLAN
I started with the simple goal of getting all of my digital photos in one spot – a Digital Photo Hub. This thought alone overwhelmed me, but once I got started it was much easier than I had planned, but it does take some time.
Before I could even start I had to find the perfect Digital Photo Hub… so I did some research. I needed something affordable but reliable enough to store priceless memories.
I chose the LaCie Rugged Mini 1TB under $70 on Amazon.
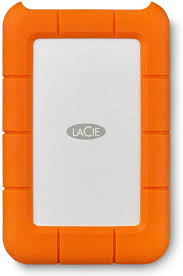
- Price
- Ratings
- Waterproof
- 1TB plenty of storage space for my photos
- Transfer Speed
- Compatible with Mac from the get-go
I debated trying the following – Maxone 1TB Ultra Slim Portable External Hard Drive or if you have the dough to do so, check out The G-Technology 4TB G-Drive USB 3.0
I started by creating folders titled with each place where I was accessing my photo zoo: Laptop, iCloud, iPhone, Google Photos, and older hard drives where I was storing photos.
- Moving photos from iPhone to a hard drive
- I used Amazon Photos to do this. I downloaded the Amazon Photo app both on my phone and my laptop. This made it easier to transfer my iPhone photos to my hard drive.
- BONUS: Amazon Photos automatically puts the date that the photo was taken in the file name. This made the photos easier to sort.
#2 HOW WILL YOU ORGANIZE?
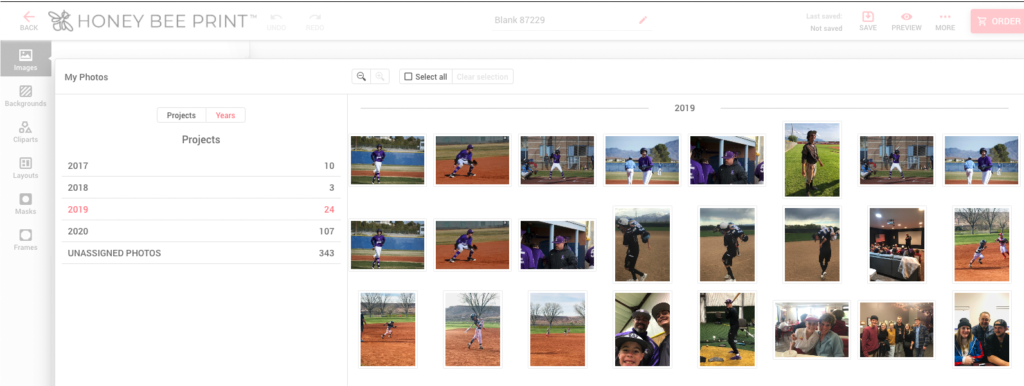
If you haven’t organized your photos for years, going month by month can be overwhelming, so I threw that idea out the window and focused on organizing by year. This made the process a lot easier to digest.
- If you are a bit more organized than I was, start with years then go month by month or event events that are significant to you each month.
#3 PHOTOS WITHOUT DATES
I will admit, I had a few photos I wasn’t even sure what year they were from. I placed them in the “Other” folder to compare with the photos I organized later on.
I also only pulled the photos I plan to print, but did not delete my unwanted photos- this will be a task for later. Once I pull what I truly want, then I can go back and delete all the photos to clear up storage in my Google Photos or on my iPhone.
#4 MAINTAINING
Now that I have a system, staying organized is pretty simple.
I back up my iPhone photos by using Amazon Photos, instead of Google Photos. I do not like that the free Google service reduces the size of your photos. It also seemed a bit harder to get my photos from Google Photos to another device, so I decided to stick with Amazon Photos.
Now, I plug my LaCie Hard Drive into my laptop at the end of every month and move over the photos I want to keep.
- I did go back and organize my yearly photos into months. This process was a lot easier once I had them organized by year on my hard drive.
#5 PRINTING
Creating personalized photo gifts is EASIER than ever with each year organized into a separate folder! I can create a year-in-review photo book for each of my kids and my parents.
Year In Review Honey Bee Print Photo Book
I simply drag the appropriate folder from my hard drive to my desktop and download them to the Honey Bee Print editor, then drag and drop my photos into the Theme that I choose.
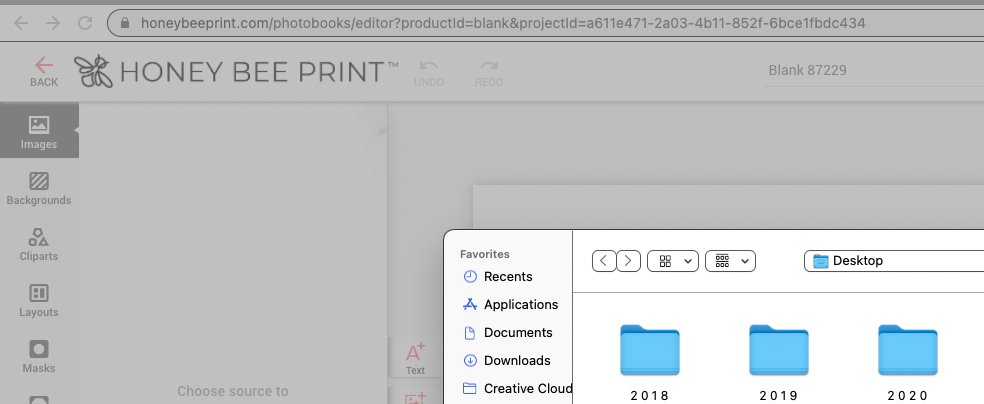
Printing month by month or an entire year, Honey Bee Print has several photo book options to preserve your memories!
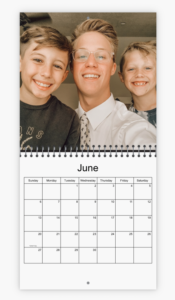
Picking one photo a month to create a custom calendar is still one of my favorite gifts to give – It takes me less than 15 minutes to create!
FINALLY, printing my photos at the end of each month has been seamless, and my kids love holding a tangible photographer of themselves. It’s extremely more satisfying then scrolling through my phone!
One Comment